With Mother’s Day rapidly approach, it struck me that I’ve not actually managed to get something for my own Mum yet! I recognise that I’m incredibly lucky to have her around so it’s nice to be able to mark this day with something special. However, I absolutely prefer to give our time and effort rather than just buying chocolate – so am very grateful to be turning to Vicki today for inspiration.
Vicki living in North Wales with her husband, two children and their big fat white cat. Blogging over at www.tippytupps.com – a parenting and lifestyle blog – she shares the (joyous) daily chaos of their lives. It’s one of my favs so I’m hugely grateful to her to her mini take over!
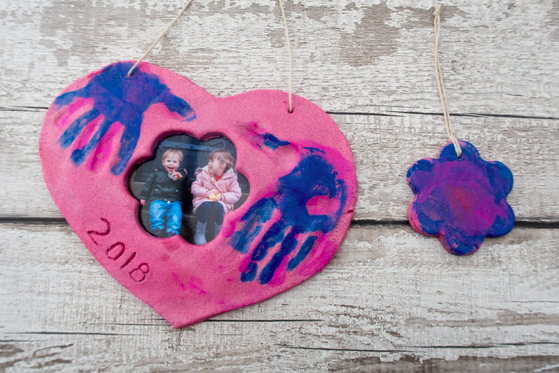
Today, she shares their Salt Dough Frame – a great craft that is perfect for Mother’s Day, a birthday or just a wonderful way to spend an afternoon:
What you Need
Salt Dough
Rolling pin
Baking paper
Butter knife
Biscuit cutter in the shape of your choice
Paints and paintbrushes
Modge Podge (or PVA glue)
String

WHAT WE DID
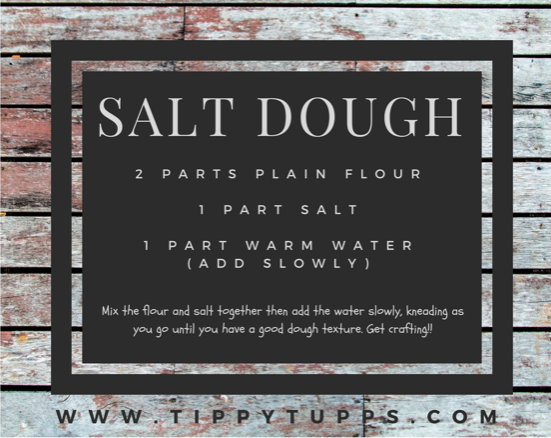
First off you need to make the salt dough, which I promise is so easy to do. You literally just need to mix together 2-parts flour to 1-part salt. Then slowly add in 1-part warm water and knead together until you have a good ‘dough’ consistency. That’s it! I also added a little food colouring at the kneading stage to give it a great pink colour.
What you use to measure your parts really depends on how much you need, for this frame I used a child’s beaker as measurement which gave us more than enough for the frame, with a little left over to play with.
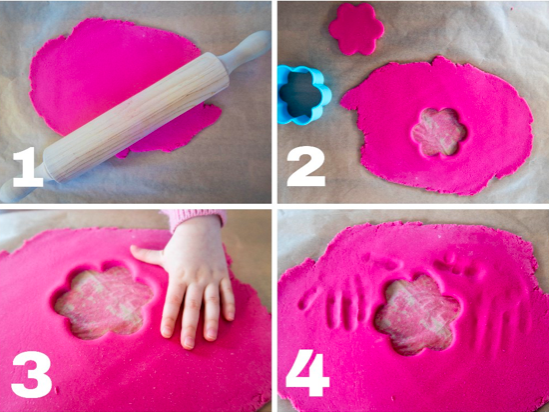
So, now you have your salt dough. The next stage is to roll it out (1). Salt dough can be sticky, so I tend to do this bit onto baking paper to make it easy to move around. You then need to cut out the centre to make the space your picture will go in. Therefore, this needs to be big enough to be able to see your chosen photograph through. I chose this simple flower shape (2) but a circle, square or even love heart would work just as well. I saved the cut out to make an accompanying hanging decoration for the frame.
Next, it’s time for little hands. Get your little ones to press down firmly on either side of the cut out (3). This can be one hand on each side if there is only one child, or one child on each side. You just need to make sure that the cut out sits within the ‘L’ of the hand between fingers and thumb (4).
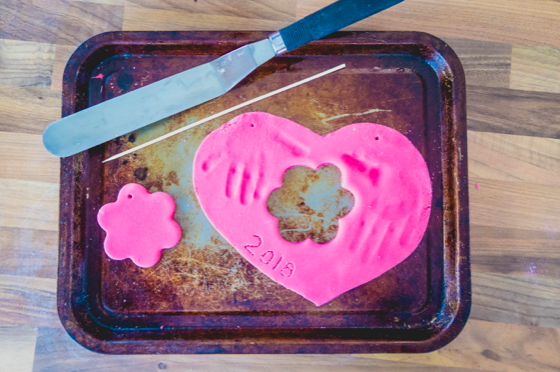
Now it’s time to cut out the shape of your frame. I think little hands placed like this, make for a pretty heart shape around the centre cut out so that’s the shape we made. Using the butter knife, cut around the edge in the shape of your choice and cut away the excess dough.
Once done, you need to lift the frame off the baking paper and onto a tray ready for baking. I use an icing spatula to do this. Before you put it in the over though, don’t forget the holes ready for hanging at the end. Two are needed on the top of the frame and one on the decoration. For this I use a wooden skewer which works perfectly. I then used the skewer to add a little 2018 to mark the year.
Bake at 70C for around 3-4 hours. Yes, this is a long time but DO NOT be tempted to turn up the heat to speed things up, as heat plus flour means that they’ll rise. Therefore, you just need to be patient.
THE FINISHING TOUCHES
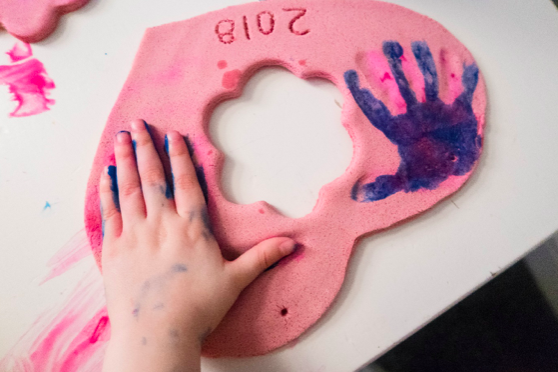
Now you could leave it plain like this and it would work well, however we decided to add a little colour to make the handprints pop. To do this, simply paint the same little hands with paint and press down in the same place as you did before to give it a wonderful contrasting colour accent.
Now, you’ll be pleased to know we are 90% there. However, you must remember that salt dough is essentially food so if it is to last, then we need to seal it. Therefore, once dry just pop a sealant coat on top to ensure that air can’t get at it. I use Modge Podge which not only seals it but also gives salt dough a lovely sheen finish. However, PVA glue would work just as well.
Once dry – which should only take around 20 minutes – your salt dough frame is ready to string up. Add your chosen photography and there you have it. An original masterpiece which is not only unique to your child but also a wonderful keepsake as they grow.
And that’s it…thank you for reading! I hope you give this a go yourself. It may seem like a lot of work, but it’s worth the effort and makes for a lovely gift. Finally, thank you once again to Laura for letting me take over her fabulous blog today, it’s been great fun to share a little of what we do over at Tippytupps with you.
Vicki xx
Please do take the time to check out Vicki’s blog, Tippy Tupps and to follow her on Facebook, Instagram, and Twitter!
